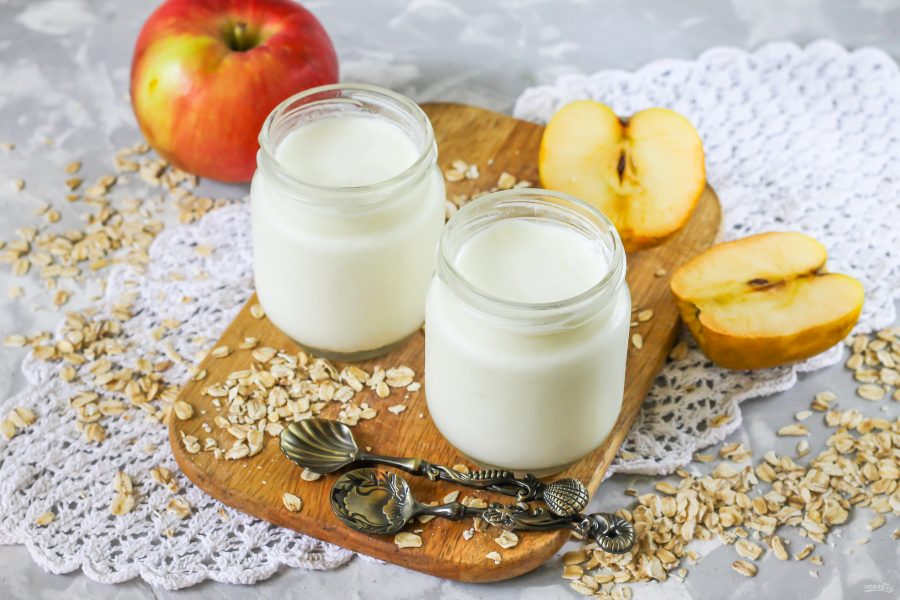
Everyone seems to be on the lactose-free prepare these days, and for good purpose. The enzyme makes it tough for us to digest dairy, and weights us down. It’s a straight-up catastrophe for anybody who’s lactose illiberal. That being mentioned, shopping for this area of interest yogurt on the retailer could be costly, and it’s not even assured within the aisles of many grocery shops. The answer? Make your individual lactose free yogurt at residence for a fraction of the worth. Countless parfaits? Yeah, we’ll take it.
What you want
- 1 litre lactose-free milk (2% or entire)
- 1 cup pre-made yogurt with dwell cultures. Plain, full-fat yogurt can be utilized if it has dwell micro organism
- Massive pot
- Massive gloss bowl
- Heat space to relaxation (high of your fridge is ok)
Recipe
1. Clear your sink effectively. Fill midway with chilly water and add just a few ice cubes. Whilst you’re doing this, your cup of yogurt out of the fridge and let it relaxation at room temp.
2. Pour milk into the massive pot and warmth at medium excessive. Place a lid on and wait 5 minutes. Don’t enable it to boil. After this time has handed, place a finger within the pot and dab a drop in your different hand. If it feels sizzling and is reaching a lightweight simmer within the pot, take it off the range. This may increasingly last as long as fifteen minutes.
3. When you’ve got a thermometer, examine to see if the milk is at 160 levels Fahrenheit. If not, skip this step.
4. No take the lid off and put the pot within the sink stuffed with chilly water. After 10 minutes, examine to see if the milk feels cool utilizing the finger check once more. It ought to be scale back to about 100 levels now.
5. Pour your milk into the glass bowl. Place the cup of yogurt within the milk and gently stir the mixture to mix.
6. Put a lid on the bowl – you should use both a plate, a material, or plastic wrap.
7. Now it’s time to position your bowl with the combination on the highest of the fridge or another heat place, like your oven with solely the lights turned on. Depart in a single day, or 6-8 hours. The longer you allow it, the extra bitter it’ll be.
8. Style your yogurt. The qualities you’re on the lookout for after its rested for a number of hours ought to be bitter, runny, and heat. The fridge will solidify it extra. In the event you favor, you may skip placing yogurt within the glass bowl and put it in glass mason jars for a neater transition.
Useful ideas
- If you would like decadent Greek yogurt, place a number of layers of cheese material inside a plastic colander, and after your heat yogurt has sat in a single day, place it within the colander, permitting the surplus moisture to empty. After, go away within the fridge for 2-4 hours, or at room temp for one hour. Pour out an additional whey.
- Yogurt must be cultured, and there are three predominant methods to prep diary-free yogurt’s micro organism side. You can begin with the plain lactose-free yogurt like we prompt within the recipe above, or you should use a dairy-free yogurt tradition.
- To thicken your yogurt for a creamier, store-bought texture, you may add tapioca flour, chia seeds, or agar agar.
- Add a sweetener earlier than fermenting. It’s not for including a candy taste to the yogurt. As a substitute, it feeds micro organism. Cane sugar, maple syrup, and honey are all good choices, however subs like stevia sadly don’t comprise the precise vitamins for micro organism.
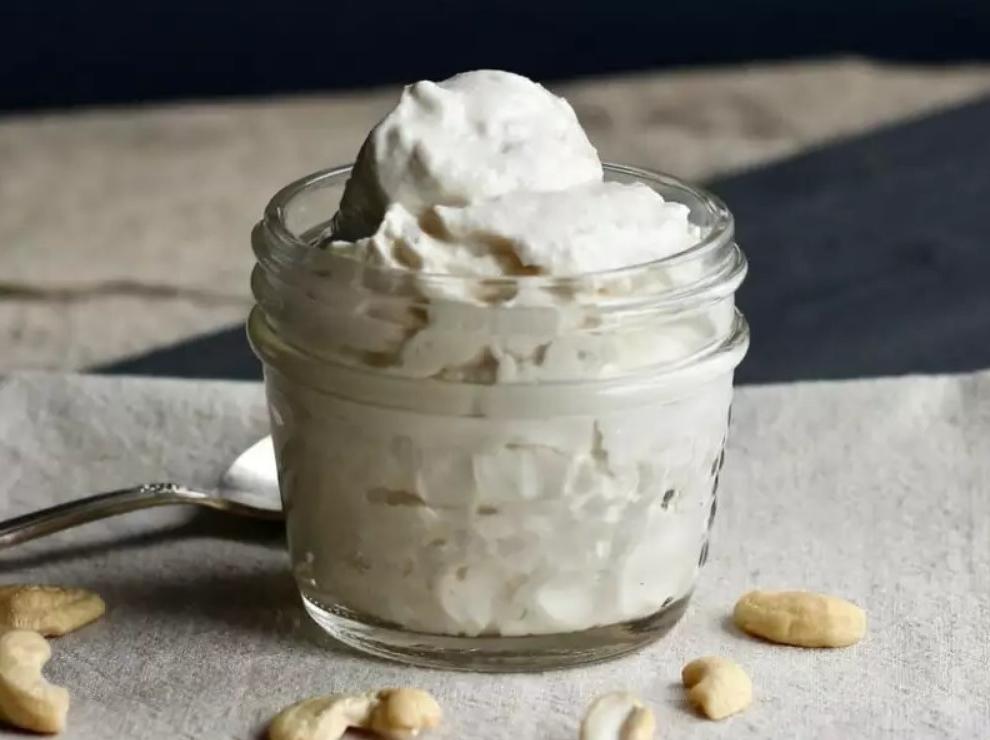
Lactose-free coconut yogurt
Lactose-free coconut yogurt is the new trending merchandise proper now, however the grocery store variations completely stuffed with preservatives and fillers. You solely want two objects out of your native well being meals retailer.
What you want:
A can of full fats coconut milk
A kefir or yogurt starter
1. Pour your can of coconut milk right into a glass jar
2. Stir and go away in your designated heat spot in a single day.
3. Stir as soon as once more and go away in your fridge. When it cools down, it ought to attain a thicker consistency. You now have coconut yogurt with a shelf lifetime of 5-8 days.
Professional tip: When your DIY creation is near expiring, you should use three or 4 spoonfuls of your previous coconut yogurt to ferment one other coconut milk can.